

The Whimsical Trend of Hanging Flowers in Photography Studios: Easy, Beautiful, and Timeless
As a family photographer and expert educator, I have witnessed countless trends come and go in the world of studio photography. However, one trend that has truly captured my heart and proven its longevity is the hanging flowers concept. Not only does it add an ethereal, whimsical touch to photographs, but it is also incredibly easy to achieve with just a few simple materials: flowers, clear fishing line, and tape. In this blog post, I will discuss the beauty and timelessness of this trend, and provide a step-by-step guide on how to create your very own hanging flowers setup in your photography studio.


The Timeless Beauty of Hanging Flowers
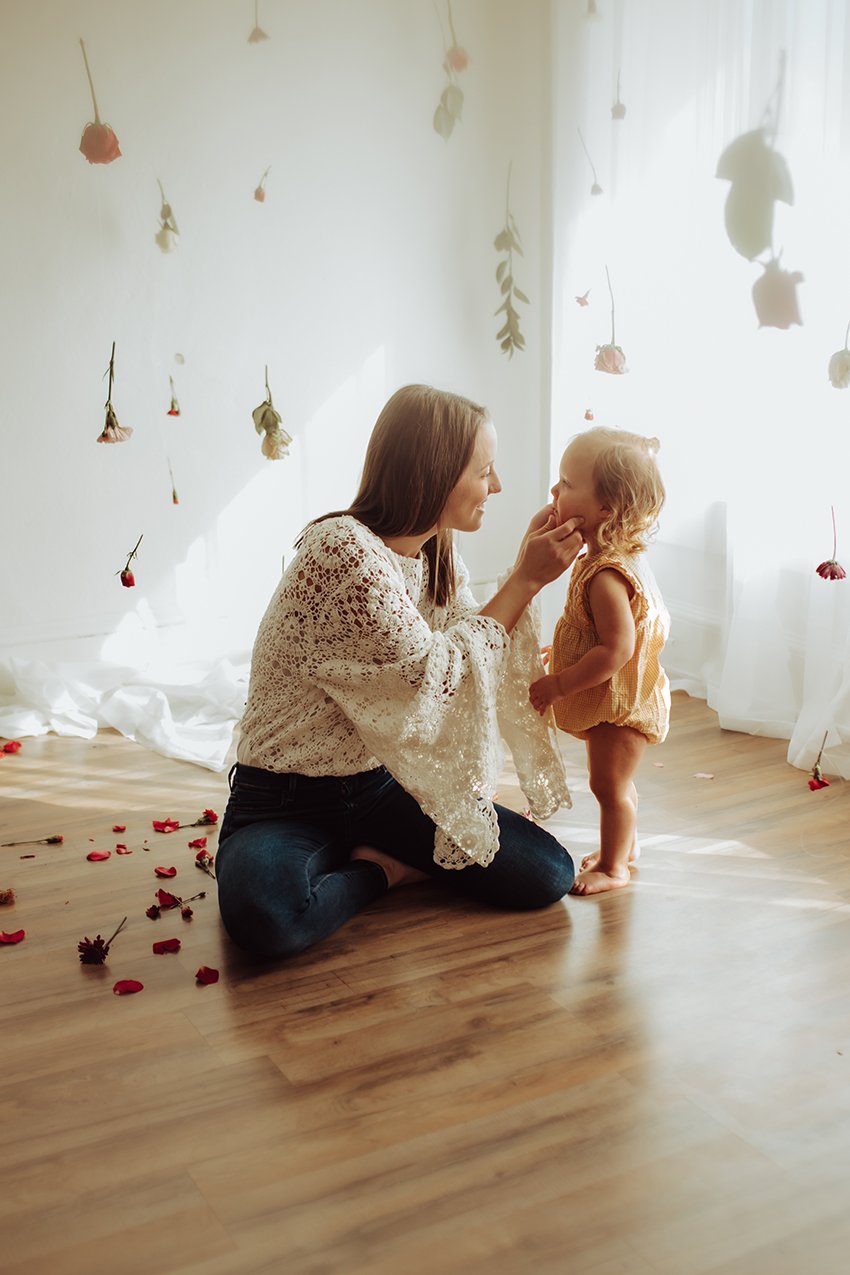
The hanging flowers trend has gained popularity in recent years due to its versatility and ability to transform any photography session into a magical experience. It adds a touch of nature and romance to family portraits, newborn sessions, maternity shoots, and even wedding photography. The flowers can be adapted to suit various color schemes and themes, making it a trend that is easy to customize to each client's unique taste and preferences.
The organic arrangement of hanging flowers creates a soft, dreamy background that complements the subjects of the photographs. This timeless and elegant setup adds depth and visual interest to your images, making them stand out from the traditional studio backdrop.


Easy DIY Hanging Flowers Setup
Creating your own hanging flowers backdrop may seem intimidating, but it's actually quite simple and affordable. Follow these easy steps to achieve this enchanting look in your studio:
Gather your materials: You'll need fresh or high-quality artificial flowers, clear fishing line, and clear or white tape. Choose flowers that complement your desired color scheme, and consider the size and shape of the blooms for the best visual impact.
Prepare the flowers: If using fresh flowers, trim the stems to a manageable length, leaving enough to tie the fishing line. For artificial flowers, remove any unnecessary leaves or plastic parts.
Cut and tie the fishing line: Cut several lengths of fishing line, depending on the size of your studio and the desired density of your hanging flowers arrangement. Tie one end of each fishing line to the stem of a flower.
Attach the flowers to the ceiling: Use the clear or white tape to attach the other end of each fishing line to the ceiling, allowing the flowers to hang at varying heights. Ensure the tape is secure to prevent the flowers from falling during your photography session.
Arrange the flowers: Step back and assess the arrangement of the hanging flowers. Adjust the height of each flower as needed to create a visually balanced and organic look.
Set up your photography equipment: Position your camera, lighting, and subjects in front of the hanging flowers backdrop. Adjust your camera settings to capture the delicate beauty of the flowers and the depth they add to your images.


The hanging flowers trend in photography studios is a testament to the power of simplicity and natural beauty. With just flowers, clear fishing line, and tape, you can easily create a stunning, timeless backdrop that elevates your photography to new heights. Embrace this enchanting trend in your studio and watch as your clients fall in love with the magical world you've created for them.


